How to take a screen shot . There is various screen capture software online for you to choose. But here is a trick to capture the screen without using any software. You can take a screen shot and capture an exact image of what’s on the screen with Microsoft Windows.
let's start now...
In Microsoft Windows XP
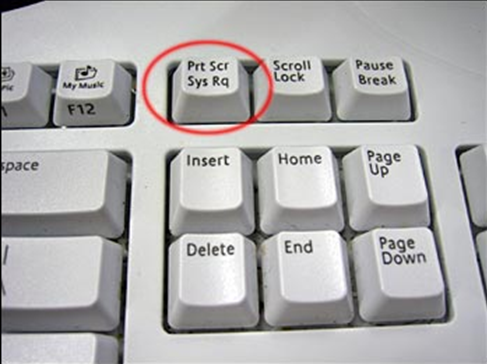
1. Press the screen shot keyboard shortcut that your keyboard uses to take a screen shot.
Click the window you want to capture. Press ALT+PRINT SCREEN by holding down the ALT key and then pressing the PRINT SCREEN key. The PRINT SCREEN key is near the upper right corner of your keyboard. (The exact key name of the screen shot keyboard shortcut may vary slightly, it depends on the type of keyboard you have.) Or you can take a screen shot of your entire desktop rather than just a single window by pressing the PRINT SCREEN key without holding down the ALT key.
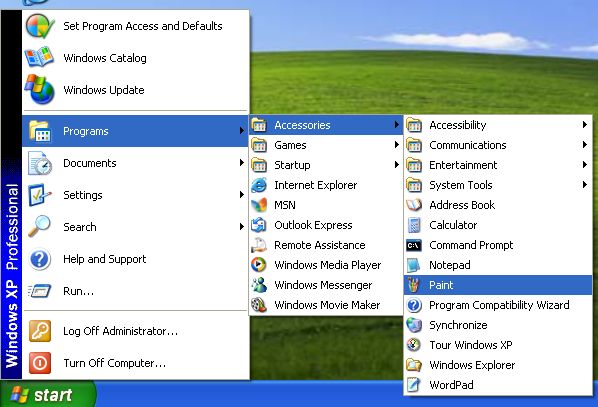
2. Open Microsoft Paint.
To do this, click Start > All Programs > Accessories > Paint.
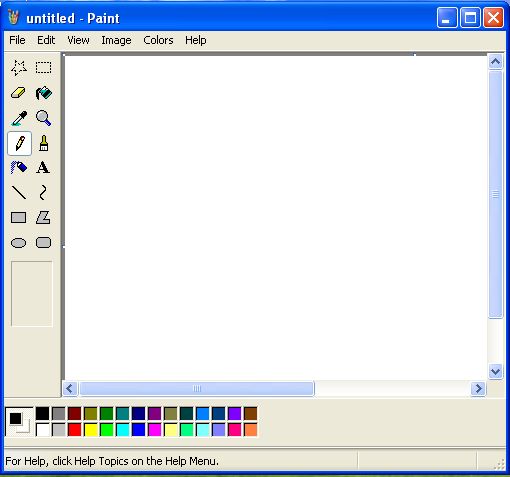
3. Go to the Edit menu and click Paste or you can press and hold "Ctrl" and tap V.
In the Paint window, click Edit, and then choose Paste. Then you may crop if you like.

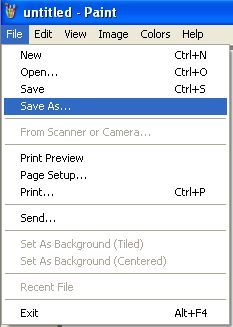
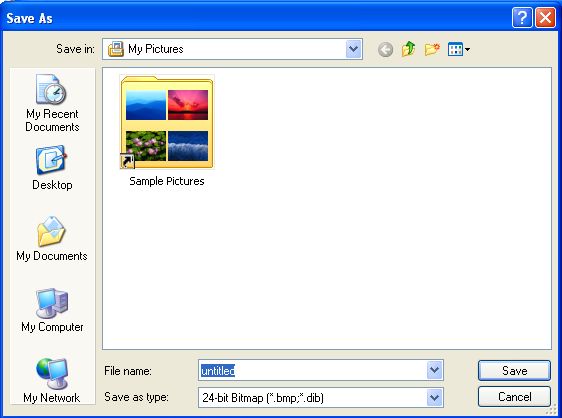
4. Click File > Save As.
In the box that pops up, change the "Save As Type" to PNG or JPG, and type in a filename for your image. Choose a place to save, like the Desktop, and click Save.
In Microsoft Windows Vista
1. In Windows Vista (except in Home Basic), there is a tool called the Snipping Tool.
To open it, click on the Start menu, type snip, then press Enter on your keyboard (the latest version of Windows Vista updates the search results as you type each letter).
2. Click on Snipping Tool.
3. The Snipping Tool opens, and a white mask is applied on the screen.
In the drop-down menu for the 'New' button, choose from a free-form snip, rectangular snip, window snip, or full-screen snip.4. In free-form snip mode, draw around the area you want to be captured. Drag a rectangle in rectangular snip mode. For window snip mode, select the window you want to capture. In full-screen mode, just selecting it from the drop-down menu makes the capture.
5. The snipped image is then opened within the Snipping Tool, but is also copied to the Windows clipboard for use in other applications.
In Windows 7
If you want to take screen shots in Windows 7 it comes with little program called Snipping Tool, which can be found in the Start Menu/All Programs/Accessories.
You can take a screen shot of the entire screen, a window or just a selection of the screen that you select.
In Windows 7, you can also take a screen shot by pressing Alt, Print Screen. You must hold down alt when you press print screen. I think this is easier to take a screen shot than the snipping tool if you want the whole screen.
No comments:
Post a Comment
Plz Share it..